-jpg.jpeg?width=300&name=45441568_s%20(1)-jpg.jpeg) The massive shift to remote work may have instigated a rapid pivot to tools like Microsoft Teams for your organization’s communication, but sometimes, sending an email through Outlook is still necessary.
The massive shift to remote work may have instigated a rapid pivot to tools like Microsoft Teams for your organization’s communication, but sometimes, sending an email through Outlook is still necessary.
And, sometimes, your inbox can look a little overwhelming due to the scores of messages you receive every day.
Although none of us may ever reach true Inbox Zero, you can still master the Outlook application and use it more effectively with the help of these Outlook productivity tips.
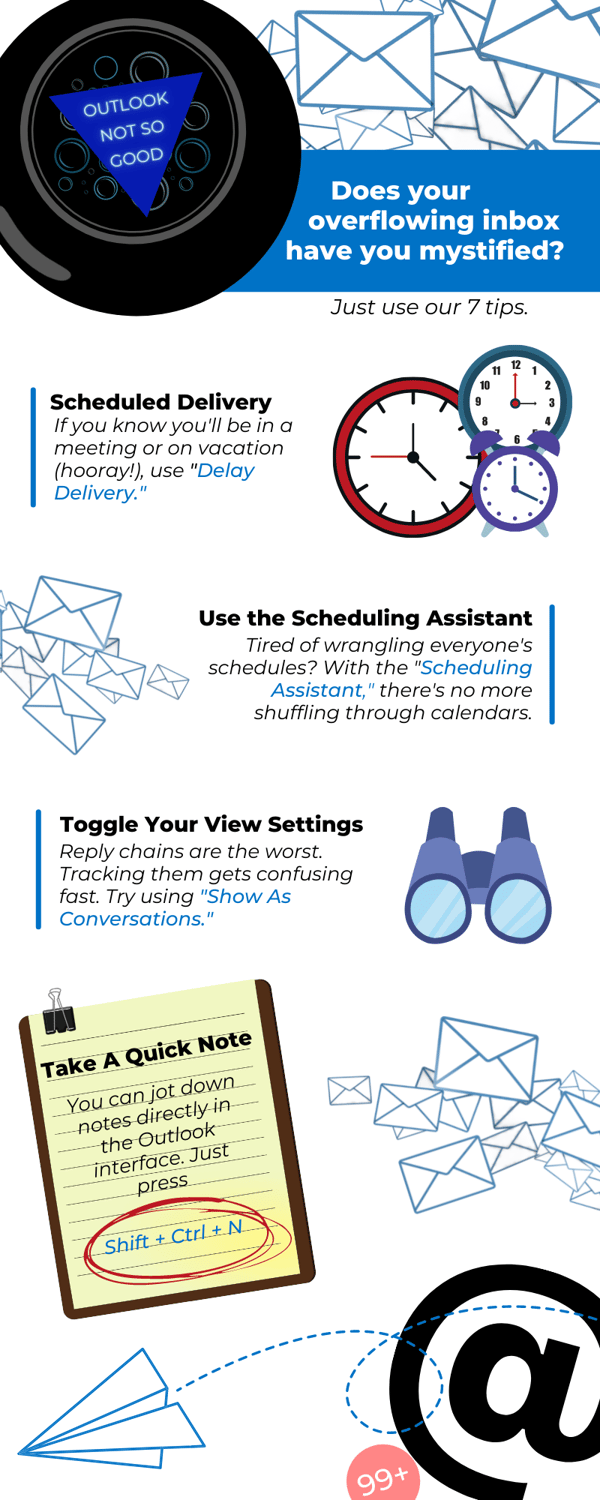
1. Schedule the delivery of your emails
If you know you have an email that needs to be sent out at a certain time but you will be in a meeting or out of the office, you can schedule your message using the “Delay Delivery” feature in Outlook.
How to Schedule an Email:
- Compose Your Message
- Click on the “Options” tab on the top menu ribbon.
- Click “Delay Delivery.”
- Be sure that “Do not deliver before” is checked, then select the day and time you would like your email to be sent.
- Close the options box and send your message as you normally would. It will remain in your Outbox until the send time.
2. Get assistance with meeting and appointment scheduling.
How many times have you had to wrangle the back and forth messages when scheduling a meeting with your coworkers? That time on a Tuesday afternoon works for some, but others have meetings with clients. That back-and-forth becomes exhausting quickly, so try using the Scheduling Assistant feature instead.
With this feature, you can easily figure out who is available within your organization at the desired time of your meeting. Just start a new meeting request in your Outlook calendar, click on “Scheduling Assistant,” and search for an open time. There will be no more shuffling through each other’s calendars or countless email chains saying, “Works for me!” or “I can’t meet then.”
This feature will save you plenty of time when it comes to coordinating meetings.
3. Toggle your view settings and make reply chains easier to follow.
If there’s one thing that vexes everyone when it comes to email correspondence, it’s the reply chain. Tracking responses to email chains involving several people gets confusing fast, and often, information gets lost in the process.
Instead of trying to figure out the flow of the conversation, let Outlook do it for you with the “Show as Conversations” ability. This will turn chains in your inbox into drop-down lists that are in the order of sent replies, sorted by date and time, making it quicker, and easier, to figure out who sent what and when.
4. Take a quick note with sticky notes, directly in the Outlook interface
Did you know you can jot down a quick note in Outlook, all without leaving the application interface? Simply press Shift + Ctrl + N and a fresh note with a current timestamp will pop up on your screen. You can move it around the screen, take down your info and even close it without losing the data—you’ll just need to navigate to the Notes tab to reopen it. (Hint: You can use another keyboard shortcut to do that as well: Ctrl + 5)

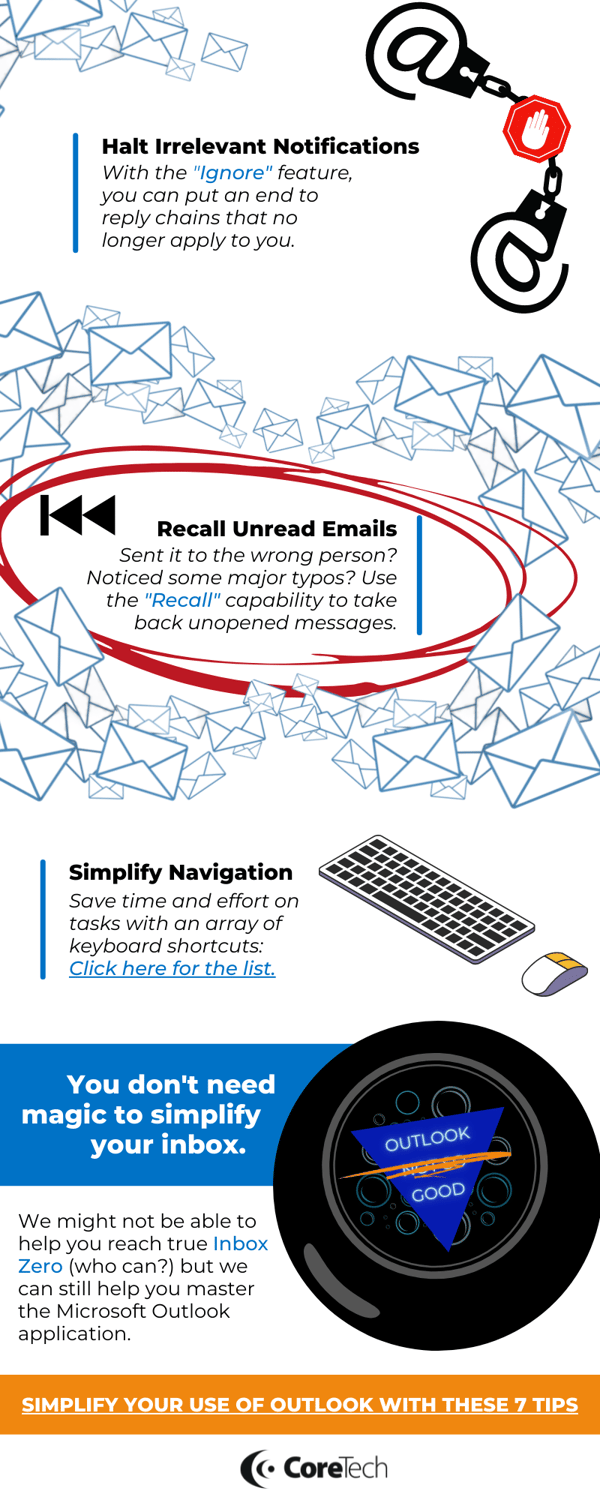
5. Use the “Ignore” feature to stop notifications on specific threads.
We’ve all been there when a “reply all” email chain no longer pertains to the original subject, becoming irrelevant and tiresome for everyone receiving it. Fortunately, you can use the “Ignore” feature and you will no longer be notified for new replies to that conversation. In fact, that entire conversation will no longer show up in your inbox and instead be moved to the “Deleted Items” folder.
To turn on this feature, be sure you are on the “Home” tab of the menu ribbon at the top of the Outlook Mail pane. Look for the icon to the right and click it. An alert will pop up asking if you would like to ignore that conversation. Confirm the action and you’re set.
If you didn’t mean to ignore a conversation, you can easily reverse it from the email in your deleted items folder, just as long as you didn’t permanently delete the conversation.
6. Accidentally hit send before you were finished with your message? Recall the email.
Whether you sent an email to the wrong individual or hit send before you were ready, you have the ability to recall a message from that person’s inbox.
Simply follow these steps:
- From your Sent folder, double click the message you would like to recall.
- On the “Message” tab, click on the “Actions” icon and select the “Recall this message” option.
- A new dialog box will appear, asking if you would like to simply recall the message or recall the message and replace it with a new email. Choose the best option for your situation.
- If you select the “replace” option, Outlook will open the current message and let you edit it once more before sending.
To learn more about the specific requirements you will need in order to use the “Recall” feature, check out this article from Digital Trends. (Important note: Your email will not be recalled if someone has already opened the message.)
7. Simplify navigation with keyboard shortcuts.
Save time and effort on your Outlook navigation and task execution with an array of keyboard shortcuts. Whether you’re switching from the Mail pane to Calendar pane or just starting a new message or meeting, keyboard shortcuts will help.
You can view the entire list of Outlook keyboard shortcuts here.

Do you need assistance mastering some of Outlook’s lesser-known features?
CoreTech has been in business for 20 years, and we use Microsoft 365 to conduct business every day.
It is a powerful, organizational hub that integrates well with your other 365 applications, including Teams and OneDrive, making it easy for you to exchange information without the hassle, but learning all the ins and outs can be overwhelming.
Email may not be the primary way you interact with some audiences, but it is still a crucial tool for online business and communication, so it helps to know some handy tips & tricks to using the application.
If you have any questions about the tips featured in this article or about how you could be using Microsoft 365 to your organization’s advantage, contact CoreTech today!

