 With the current pandemic forcing many to work from home, it means we have to rely on technology to keep everyone communicating and informed about what is going on with your organization.
Microsoft Teams is a great way to accomplish this enormous task. While Teams offers numerous functions for communication and collaboration, you still may want to customize the application so it feels a little more personal.
Listed below are five capabilities to personalize your workspace.
1. Change to the Dark Theme
Teams won’t allow you to use custom themes, but you can enable the Dark Theme.
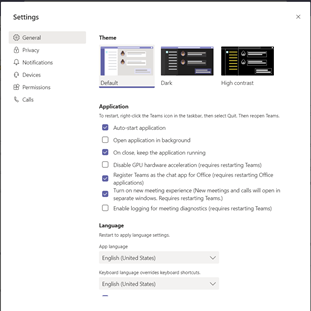
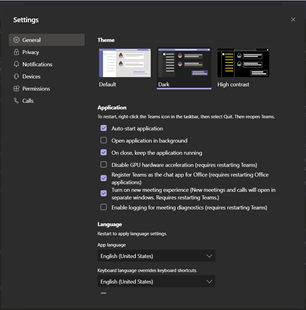
This is a great option if you already enabled the overall dark theme in Windows. To change to the Dark theme in Microsoft Teams, just click on your picture icon at the top of Teams and click “Settings.” Then click the “General” tab. Click the “Dark” theme option and it will automatically change. You won’t even need to restart Teams.
2. Read Receipts
Enabled by default, this setting will show a check mark by the message you created to indicate it was sent. When the message is read, the check mark will change to an eye icon.
If you would like to adjust the read receipts settings, click on your picture icon at the top of Teams, click on “Settings” and then select “Privacy.”
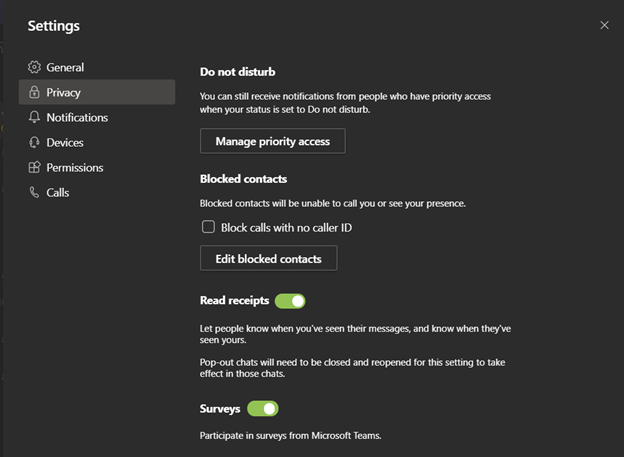
From there, you will be able to enable/disable the feature.
Note: Toggling the read receipts on/off must be allowed by your company’s IT administrator.
3. Integrate your Applications
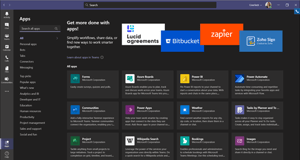
You can add applications in Teams to broaden its functionality to suit your needs, and there are different ways to accomplish this.
- You can choose applications from within Teams, search for your application and add it.
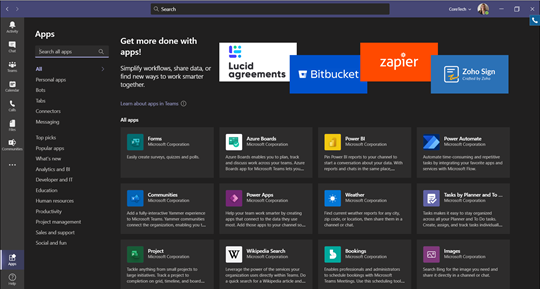
- You can add an application to the tab in a channel in chat. You go to the channel or group chat or private chat and click the “Add a Tab” button. It will show up as a + icon and you can search for the tab you want.

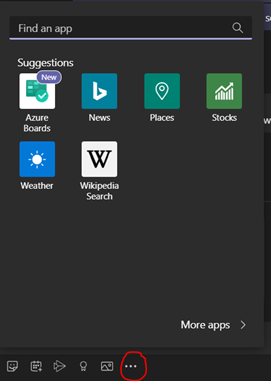
- You can add applications from the messaging area as a Bot. This will allow you to insert content into your Teams messages. You can add bots by clicking the ‘…’ at the bottom of the messaging box where you type your message and choose your application. You can also type @ and then click ‘Get Bots’ to find more applications.
4. Customize notifications
Set which notifications you receive, whether it’s mentions, messages, highlights, etc.
For personal mentions, channel mentions or team mentions, you can customize the banner and email notifications, banner and only show feed.
For messages, replies, likes, followed channels and trending, you will have the same options for mentions but you can also turn these notifications off altogether to reduce distractions.
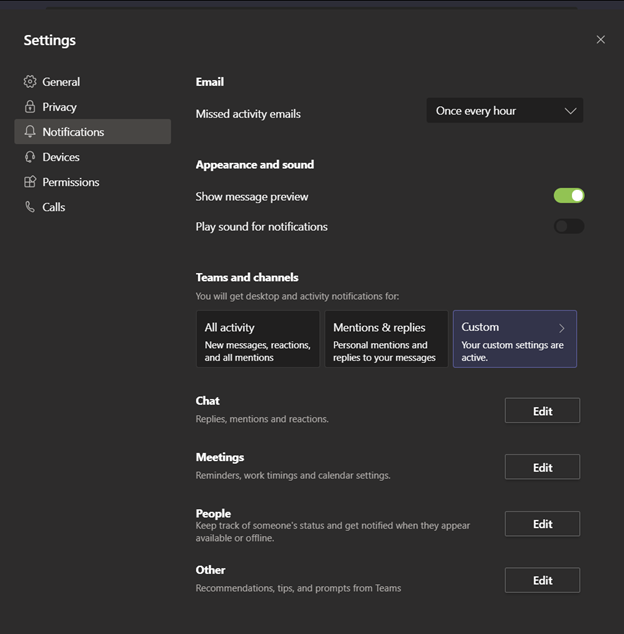
You can create notifications for a specific person. This allows you to follow a person’s status and get notified when they appear Available or Offline. You can do this by clicking the “People” option on the “Notifications” page in your settings.

5. Set status message
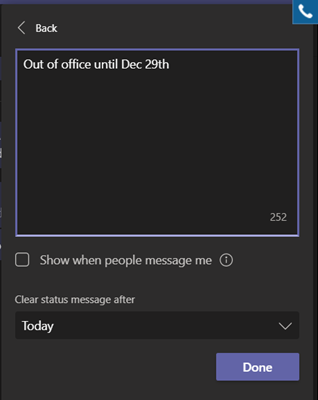
By setting a status message you can let your co-workers know what you are doing. It can be set on a schedule, and it is separate from your online presence. To set status message: Click your picture icon, click “Set Status Message” button and a box will pop up where you can enter your message (including emojis).
You can also check the box that says, “Show when people message me.” This allows people to see your status message as they create a new message or @mention you.
The above options are just some of the many Microsoft Teams customization features available.
As you browse through Microsoft Teams, you will notice several other areas you can personalize, but these are some of the basic ones to get you started.
Customizing Teams will make the experience better and help you prioritize and keep track of all your messages and mentions, making you a more efficient and effective communicator.
Do you have questions about how you can customize your Microsoft Teams interface? Contact us today or drop a comment below!

