
Window’s Snipping tool offers users a quick and easy way to capture an image without having to take a screenshot of the entire screen. Users can decide which area, shape, and size they want to capture within seconds.
This tool is useful for sending a clear image of something you want to share with others, or to keep for yourself.
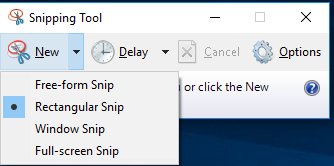
To get started, open the application by searching for the snipping tool in your start menu. Once the snipping tool is open a tool bar will pop up, in which you will click ‘New’ to find a few different options for your image capture.
Free Form Snip
The free form option allows you to snip an image by drawing the area you want to capture. This option works best for irregular shaped images you wish to snip.

Rectangular Snip
The rectangular snip function allows a user to take an image by clicking and dragging the mouse over the desired area. This option is best when trying to capture a portion of the screen that has a defined shape.

Window Snip
The window snip function snips an image of the active window open. If a user wants to capture the entirety of the window from their web browser, word document, etc. the window snip function does exactly that with the click of a button.

Full Screen Snip
The full screen snip is a complete screenshot. It takes an image of exactly what you see on your screen.
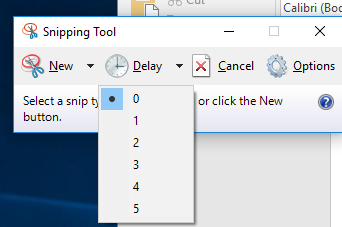
If a user wants to capture an image of a pop up window they can use the delay button to set a timer in order to have time to make the window appear.
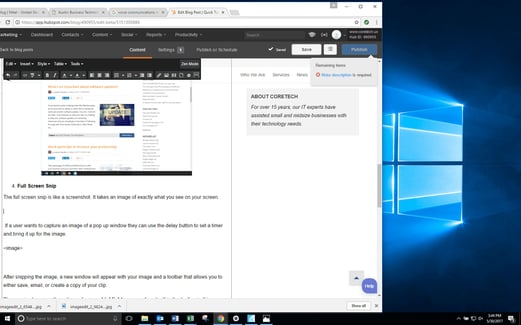
After snipping the image, a new window will appear with your snip and a toolbar that allows you to either save, email, or create a copy of your clip.
The user is also given the options of using a highlighter or pen found within the toolbar in this new window. The pen tool allows a user to write or draw on their image, while the highlighter tool gives the user the option to show importance of a section.
The eraser allows a user to remove the lines drawn.
Shortcuts found within the Snipping Tool
- Alt + N- create a new snip
- Alt + D- delay capture
- Ctrl + C- copy the snip to clipboard
- Ctrl + S- save the snip
The snipping tool is useful for sharing an image that may be difficult to explain, or quickly making a copy of things like news, recipes, receipts and so on.
Learning how to navigate the tool makes for easier use and an easier life!

Sources: Microsoft Support
